使用 Hardhat 在 Gate Chain 主网上部署智能合约
本指南提供了一个使用 Hardhat(一个流行的以太坊开发环境)在 Gate Chain 主网上部署智能合约的分步教程。您将学习如何设置 Hardhat 项目、为 Gate Chain 配置它、编写一个简单的智能合约,并将其部署到 Gate Chain 主网。本教程非常适合熟悉以太坊开发并想要开始在 Gate Chain 上构建的开发者。
1. 创建 Hardhat 项目
1.1 创建项目目录
mkdir hardhat && cd hardhat
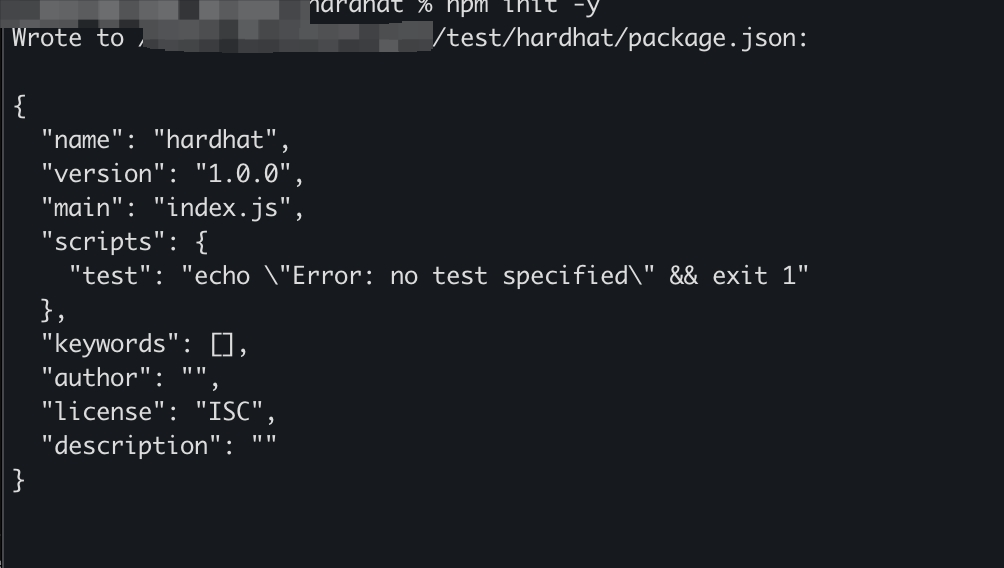
1.2 初始化项目(创建 package.json)
npm init -y
1.3 安装 Hardhat
npm install hardhat
1.4 创建 Hardhat 项目
npx hardhat init
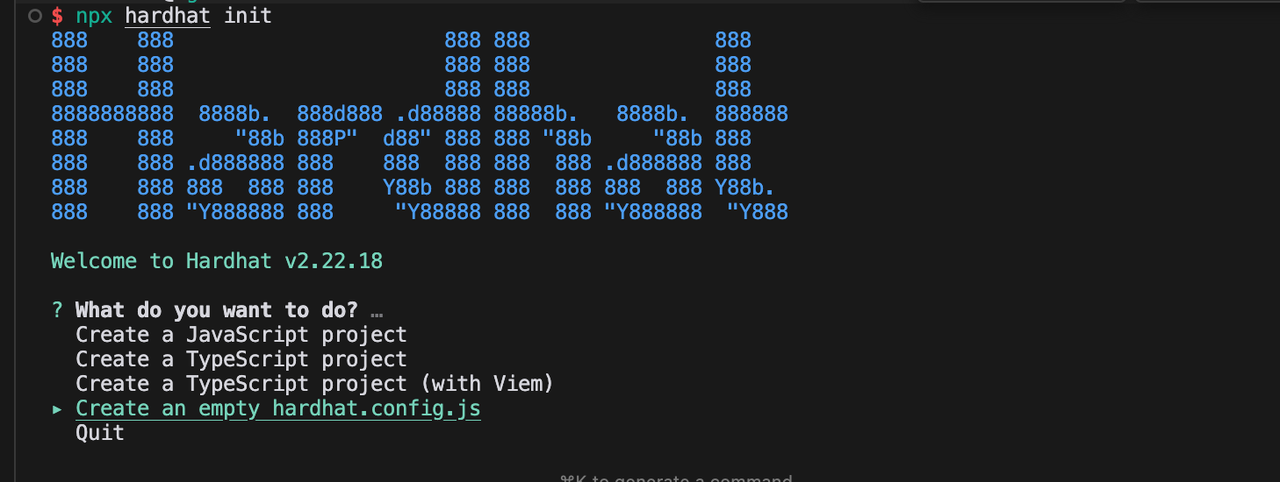
1.5 选择项目类型
选择 Create an empty hardhat.config.js 选项,这将为您的项目创建一个基本的 Hardhat 配置文件。
2. 修改 Hardhat 配置文件
2.1 配置 hardhat.config.js
主要配置内容:
- Solidity 编译器版本:0.8.18
- Gate Chain 主网 EVM RPC 地址选项:
https://evm.nodeinfo.cc(推荐)https://evm-1.nodeinfo.cchttps://evm.gatenode.cc
- chainId:86(Gate Chain 主网链 ID)
require('@nomicfoundation/hardhat-toolbox');
require('@nomiclabs/hardhat-web3');

/** @type import('hardhat/config').HardhatUserConfig */

const privateKey = 'INSERT_PRIVATE_KEY';

module.exports = {
  solidity: '0.8.18',
  networks: {
    Mainnet: {
      url: 'https://evm.nodeinfo.cc',
      chainId: 86,
      accounts: [privateKey],
      gasPrice: 10000000000, // 10 gwei
    },
  },
};
3. 编写合约文件
3.1 创建 Contracts 目录
mkdir contracts
3.2 创建合约文件
touch contracts/Storage.sol
3.3 合约内容
pragma solidity ^0.8.0;

contract Storage {
    uint storedData;

    function set(uint x) public {
        storedData = x;
    }

    function get() public view returns (uint) {
        return storedData;
    }
}
4. 编译 Solidity
4.1 安装依赖
npm install @nomicfoundation/hardhat-toolbox@^2.0.2 @nomiclabs/hardhat-web3@^2.0.0
4.2 编译合约
npx hardhat compile

编译后,项目中将创建一个 artifacts 目录,其中包含合约字节码和元数据(.json 文件)。建议将此目录添加到 .gitignore 中。
5. 部署合约
5.1 创建部署脚本
mkdir scripts && touch scripts/deploy.js
5.2 部署脚本内容
const { ethers } = require('hardhat');
async function deploy(deployer) {
const Contract = await ethers.getContractFactory('Storage', deployer);
const contract = await Contract.deploy();
await contract.deployed();
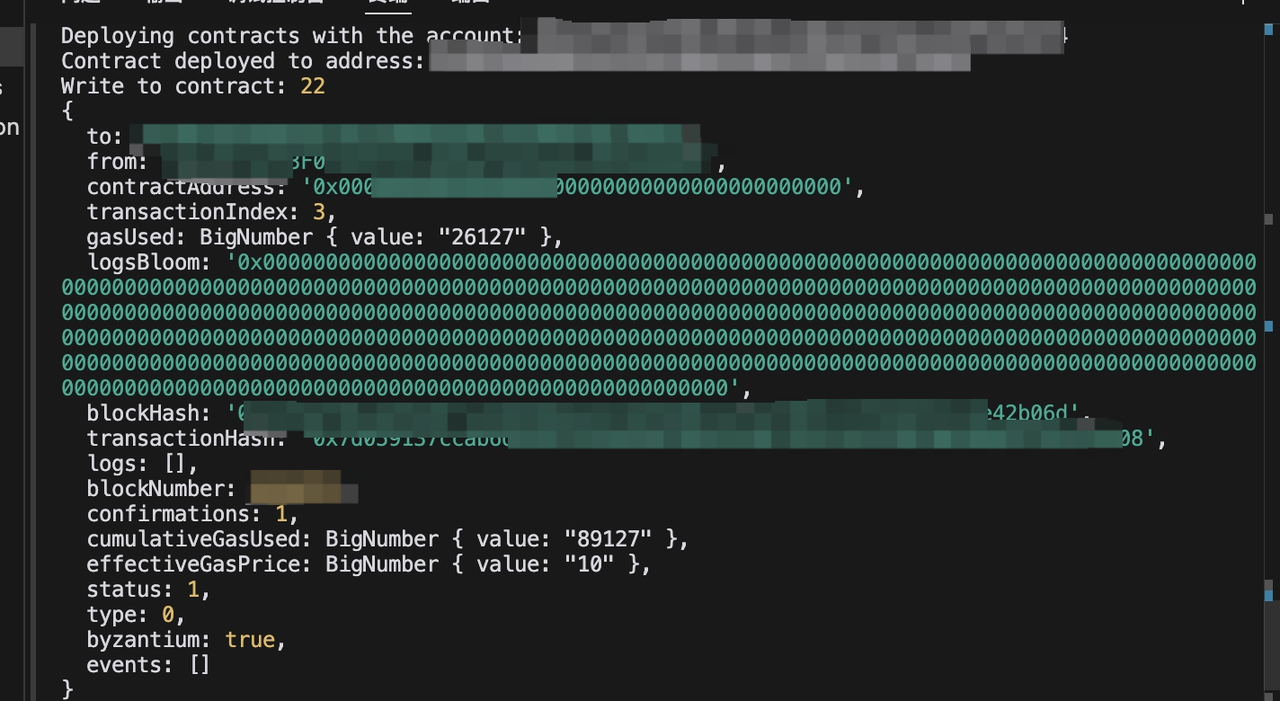
console.log('Contract deployed to address:', contract.address);
return contract.address;
}
async function call(contractAddress, deployer) {
const Contract = await ethers.getContractFactory('Storage', deployer);
const contract = await Contract.attach(contractAddress);
const number = 22;
console.log('Write to contract:', number);
const tx = await contract.set(number);
receipt = await tx.wait();
console.log(receipt);
const counter = await contract.get();
console.log('Read from contract:', counter);
}
async function main() {
const [deployer] = await ethers.getSigners();
console.log('Deploying contracts with the account:', deployer.address);
const address = await deploy(deployer);
await call(address, deployer);
}
main()
.then(() => process.exit(0))
.catch((error) => {
console.error(error);
process.exit(1);
});
5.3 运行部署脚本
npx hardhat run scripts/deploy.js --network Mainnet
6. 查询交易
部署后,您可以在 Gate Chain 区块浏览器上查看合约交互详情。
重要提示:
- 确保将配置文件中的
privateKey替换为您自己的私钥 - 部署前确保您的账户中有足够的 GT 支付 gas 费用
- 建议在部署到主网之前在测试网上进行测试