Wallet Configuration
This tutorial will guide you through configuring your wallet to connect to the Gate Layer network. We use Gate Wallet and MetaMask as examples.
Network Information Summary
Mainnet Information
- Network Name: Gate Layer Mainnet
- RPC URL:
https://gatelayer-mainnet.gatenode.cc - WSS URL:
wss://gatelayer-ws-mainnet.gatenode.cc - Chain ID:
10088 - Currency Symbol: GT
- Block Explorer: GateScan Gate Layer
Testnet Information
- Network Name: Gate Layer Testnet
- RPC URL:
https://gatelayer-testnet.gatenode.cc - Chain ID:
10087 - Currency Symbol: GT
- Block Explorer: GateScan Gate Layer Testnet
Gate Wallet Configuration
Gate Wallet is the official Gate wallet with built-in Gate Layer network configuration, making the setup process simple and fast.
Step 1: Download and Install Gate Wallet
- Visit the Gate Web3 official website to download the wallet app or extension (the following example shows the extension process)
- Follow the prompts to install and create a wallet account
- Gate Wallet already supports Gate Layer mainnet and testnet
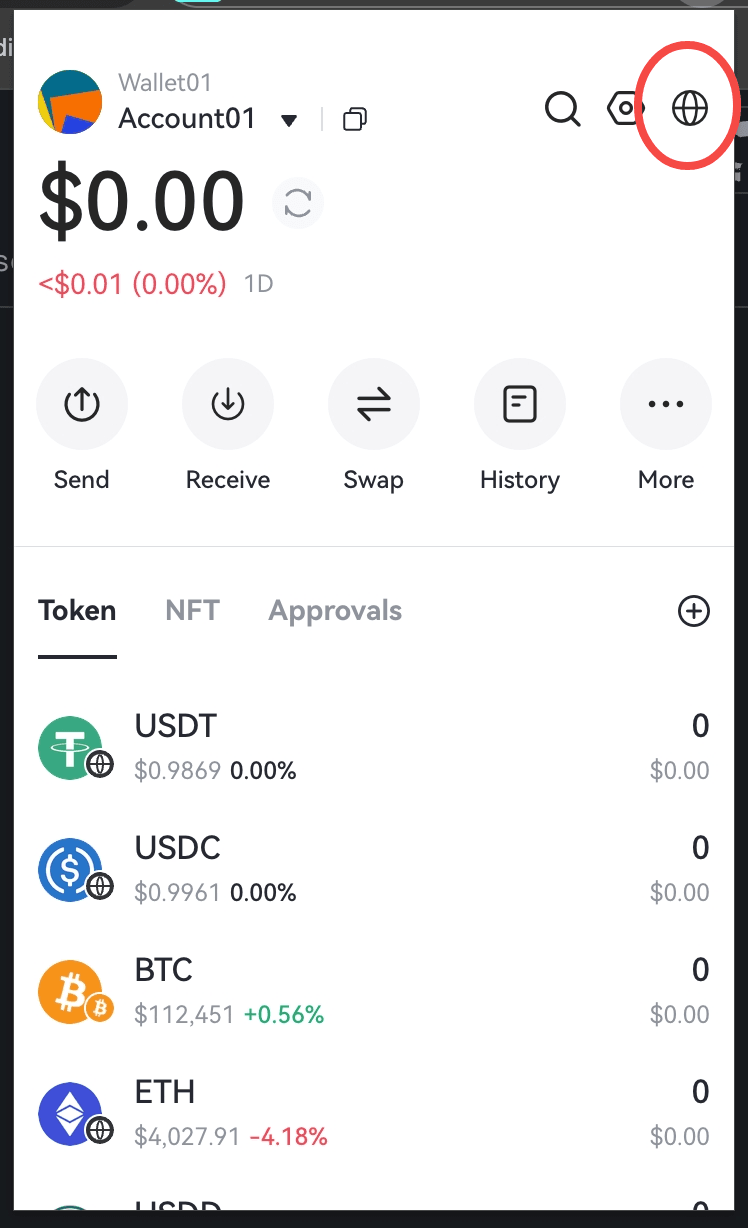
Step 2: Open Network Filter
- Click the network filter function in the top-right corner of the Gate Wallet main interface
- By default, All Networks is selected, you can find Gate Layer network through network filtering
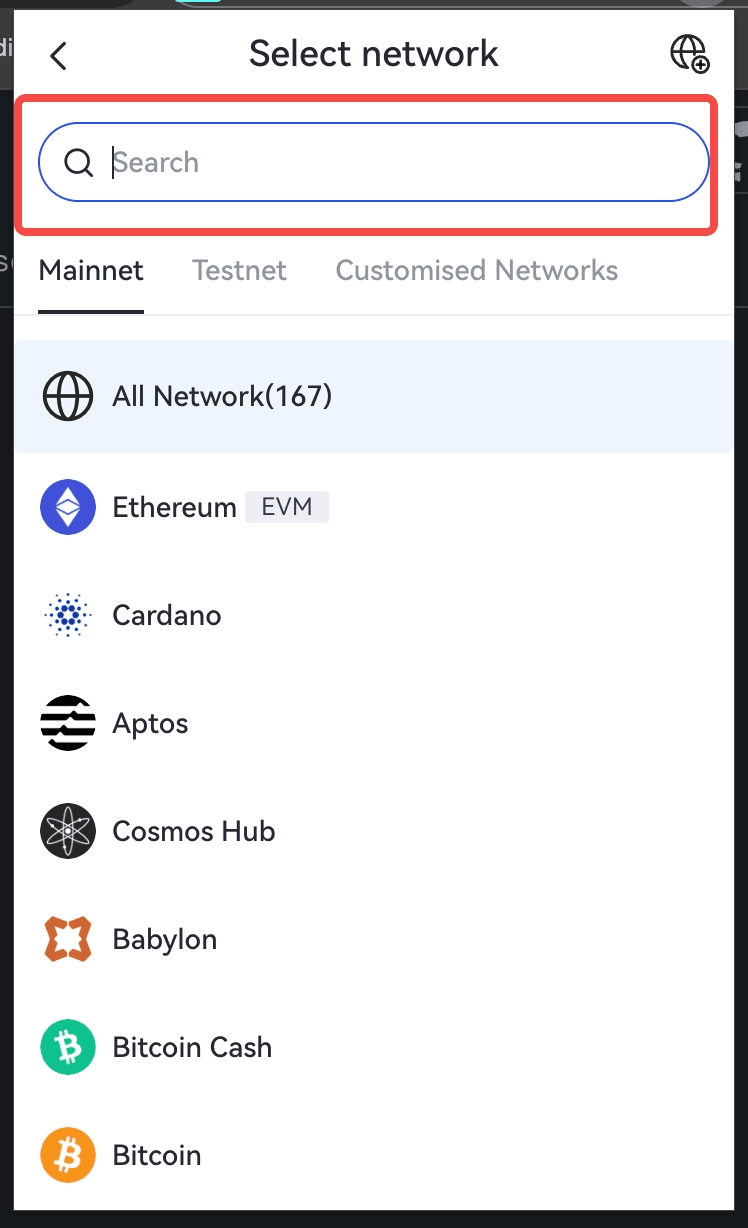
Step 3: Search and Select Mainnet
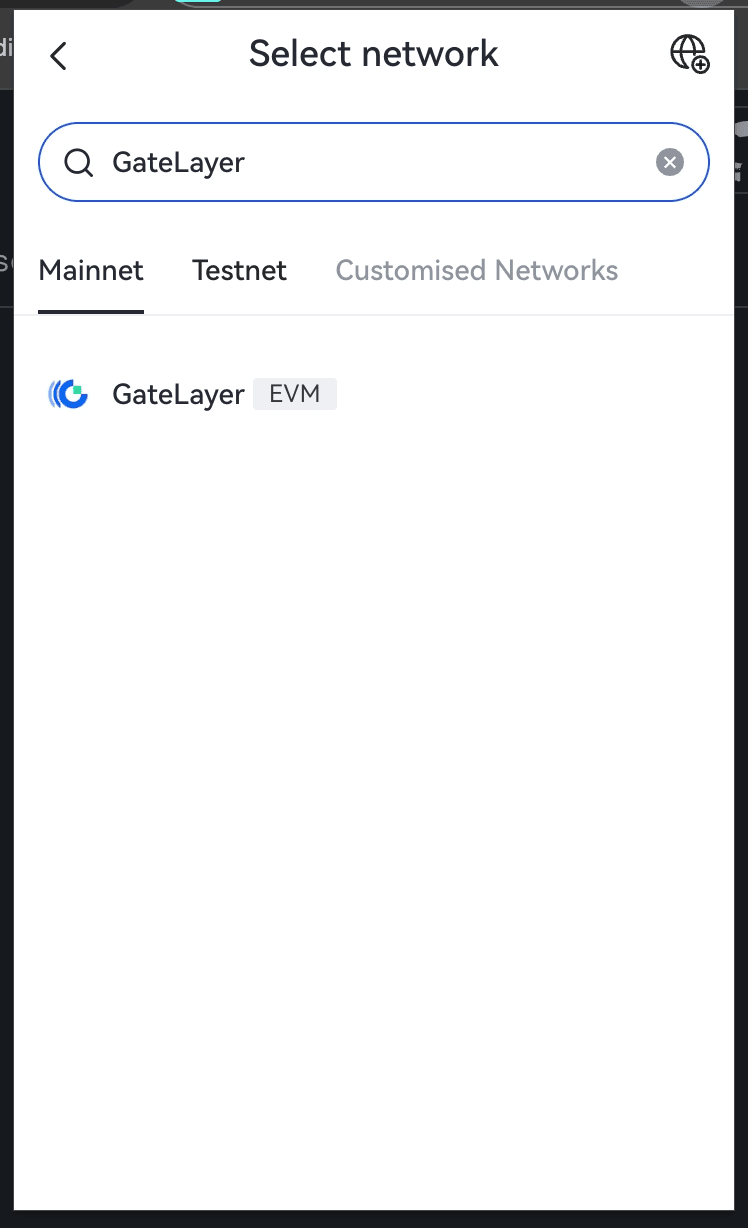
- Enter GateLayer in the search bar on the network filter page
- Find Gate Layer Mainnet in the search results, click to select and confirm switching to Gate Layer mainnet
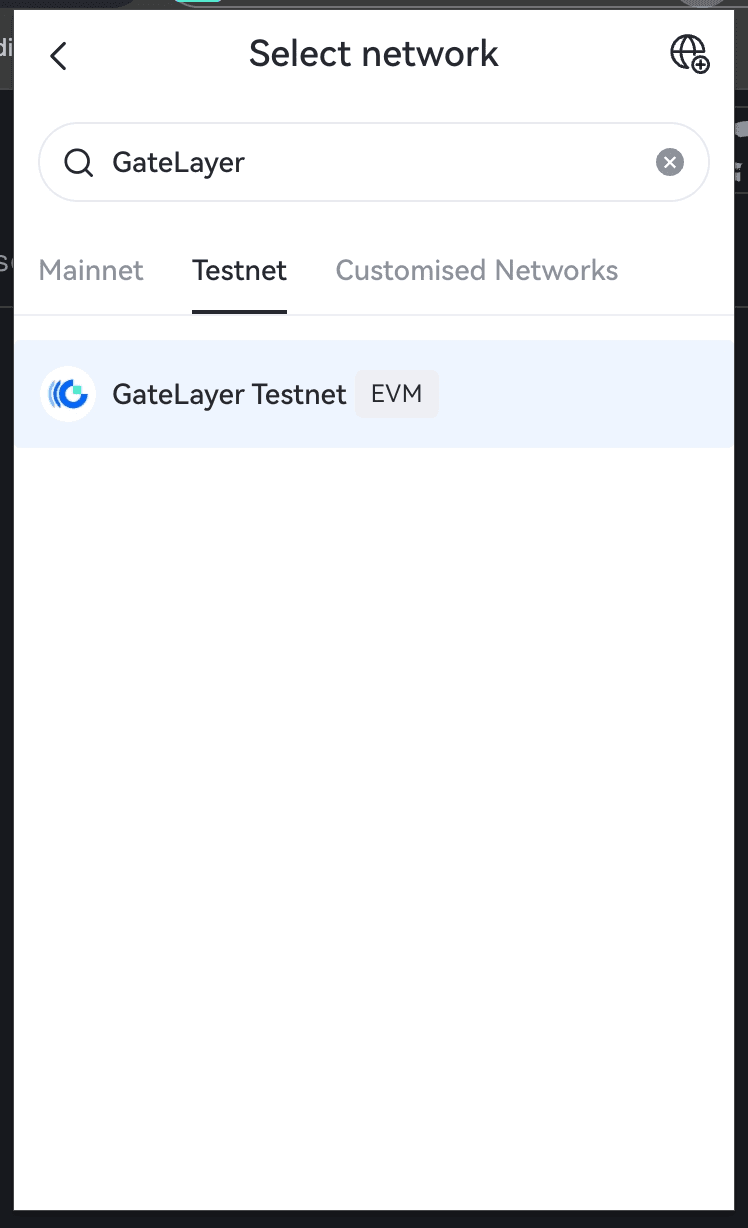
Step 4: Select Testnet (Optional)
If you need to connect to the testnet for development or testing:
- Similarly, enter GateLayer in the search bar
- Find Gate Layer Testnet in the search results, click to select and confirm switching to Gate Layer testnet
MetaMask Configuration
MetaMask is one of the most popular Ethereum wallets, supporting custom network configuration.
Step 1: Install MetaMask
- Visit the MetaMask official website to download the wallet app or extension (the following example shows the extension process)
- Install and create a new wallet or import an existing wallet
Step 2: Enter Network Menu
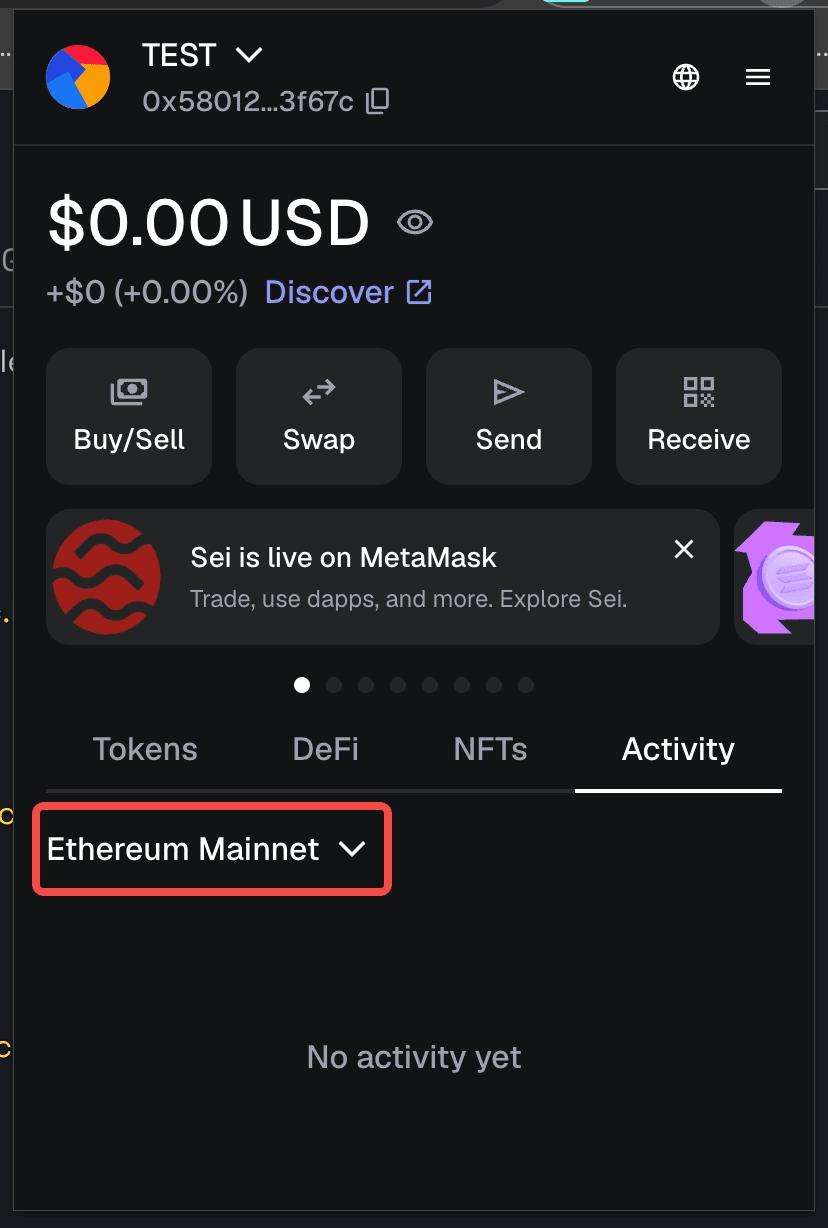
- Click the MetaMask extension icon
- Click the network button on the homepage
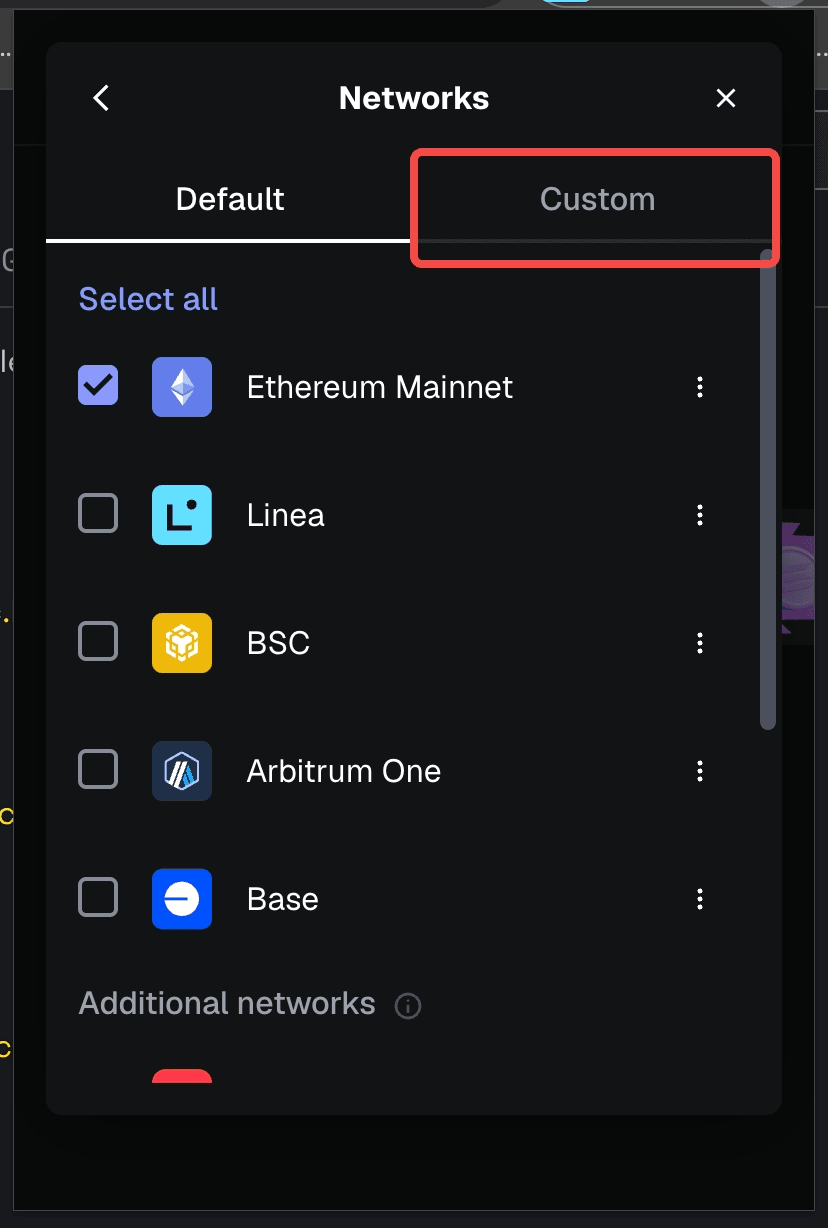
- Select the Custom tab
Step 3: Add Network
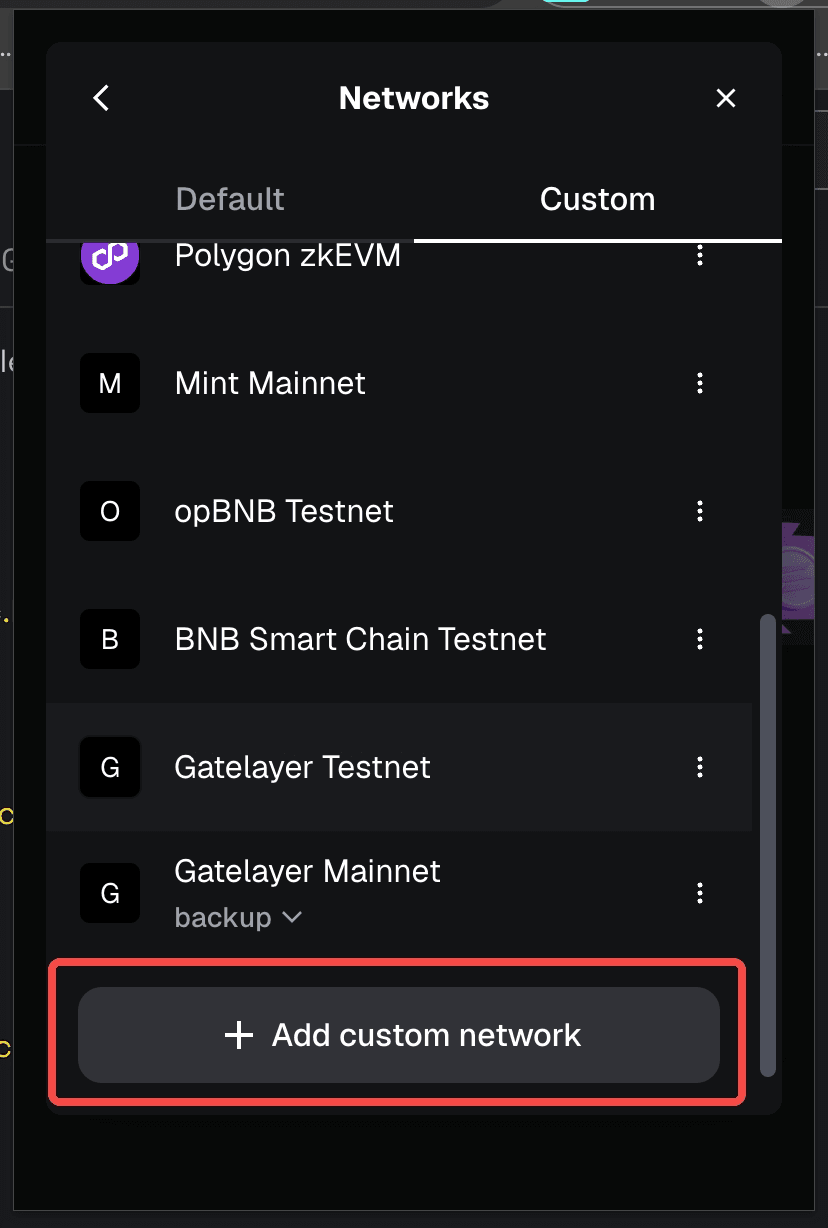
- Scroll to the bottom of the Custom tab
- Click the Add Network or Add Network button
- Enter the network configuration page
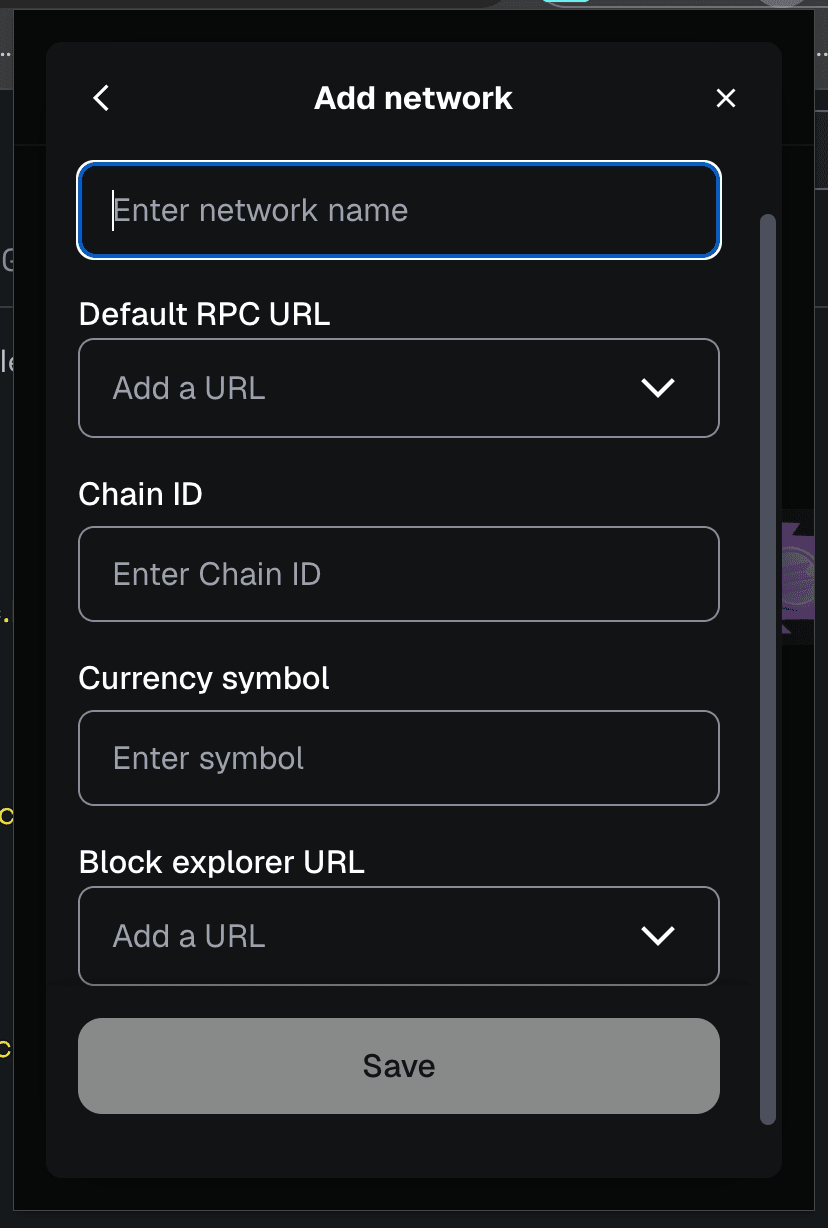
Step 4: Configure Network Information
Enter network information in the popup. You can choose to configure mainnet or testnet:
Gate Layer Mainnet Configuration:
- Network Name: Gate Layer Mainnet
- RPC URL:
https://gatelayer-mainnet.gatenode.cc - Chain ID:
10088 - Currency Symbol: GT
- Block Explorer URL:
https://www.gatescan.org/gatelayer
Gate Layer Testnet Configuration:
- Network Name: Gate Layer Testnet
- RPC URL:
https://gatelayer-testnet.gatenode.cc - Chain ID:
10087 - Currency Symbol: GT
- Block Explorer URL:
https://www.gatescan.org/gatelayer-testnet
Click Save to complete the configuration after filling in the information
After configuration, you can start using the Gate Layer network for transactions and development.